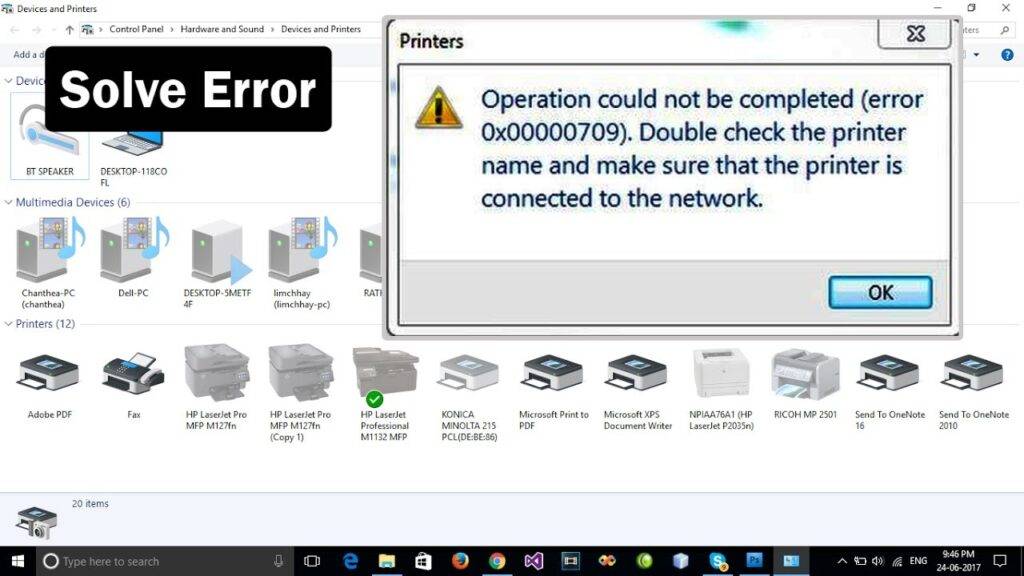
If you have multiple printers installed on your computer, then you may want to change your default printer based on the print job you want to complete. However, sometimes the Windows operating system doesn’t allow you to make such a simple alteration and instead displays ‘Operation could not be completed (Error 0x00000709)’ error. This can be really annoying if you want to print a lot of pages. Therefore, in this guide, we will tell you how to fix Windows Error 0x00000709 quickly and permanently.
What is the default printer Error 0x0000070?
This error is usually caused when you are unable to set up your new printer or a different printer as your default printer other than the one that is already setup as default. This is caused by a glitch in the registry settings, which prioritizes the previous printer to be the default one.
In order to fix this issue, the registry needs to be manually modified.
However, before proceeding with making changes to the registry you must back them up in case something goes wrong; you should be able to restore the registry.

It is very simple to backup the registry:
To backup the registry, after opening it, Click File -> Export, name the registry file, eg: backupreg and click Save. To import / restore from backup, open the registry editor again, click File -> Import, and select the file you exported earlier. See below on how to access the registry editor.
How to Fix “Unable to Set Default Printer Error 0x00000709”
You can confidently follow the steps given below to set the windows 7, 8 and 10 operating systems. By using this process you will be able to fix the default printer Error 0x00000709.
- Click the ‘Start’ button and search ‘regedit’ in the search box. From the search results, right click ‘regedit’ and choose ‘Run as administrator’.
- In the Registry Editor window, select ‘HKEY_CURRENT_USER’, inside that select ‘Software’, inside it choose ‘Microsoft’, inside it ‘Windows NT’, inside that ‘Current Version’ and inside it ‘Windows’. Note that each folder is a subset of the previous folder as shown below.
- Finally, the Registry Editor should look like shown below and at the bottom or top, you should see the following address: ‘computer/HKEY_CURRENT_USERSoftwareMicrosoftWindowsNTCurrentVersionWindows’.
- Now right click ‘Windows’ folder and select ‘Permissions’.
- Click the ‘Add’ button.
- In the object names box type ‘everyone’ and click the ‘Check Names’ button.
- Once ‘Everyone’ has been recognized, click on ‘OK’.|
- In the Permissions window, choose ‘Everyone’, check ‘Full Control’ and ‘Read’ checkboxes in the ‘Allow’ column. Then, click ‘Apply’ and finally ‘OK’.
- Close Registry Editor program.
- That’s it!! You have made the necessary changes to your Windows Registry.
- Now, restart your computer and you will be able to set your preferred printer as the new default printer without encountering any error.
Finally :
The Windows Error 0x00000709 is most common among users who have multiple printers installed on their computer. However, if you follow the steps given above, then you will be able to fix this problem permanently in just a few minutes.