Accessing your router’s admin interface via its default IP is essential for managing network configurations, changing passwords, and setting up devices. However, login problems can occur for several reasons, leaving users unable to modify network settings. Below, we explore practical steps to troubleshoot router login issues and regain access to the admin interface.

Steps to Fix Router Login Issues
Follow these troubleshooting methods to identify and resolve common login problems efficiently.
1. Verify the Correct Default IP Address
Ensure you are using the correct default IP address for your router. Common IPs include 192.168.1.1, 192.168.0.1, and 192.168 100.1 for TP-Link devices. The default IP is usually printed on the back of the router along with login credentials. Alternatively, you can confirm it by checking your device’s network settings. On Windows, open Command Prompt, type ipconfig, and look for the default gateway under the active connection.
2. Check Device Connectivity
Ensure your device is connected to the router—either wirelessly or with an Ethernet cable. For login tasks, using a wired connection is preferable to avoid disruptions during changes to Wi-Fi settings. If your device is not connected correctly, you won’t be able to reach the router’s interface. Reboot the router and reconnect your device to confirm stable connectivity.
3. Clear Browser Cache or Try Another Browser
Browser-related issues can sometimes prevent access to the admin interface. Clear your browser’s cache and cookies, and then try logging in again. If the issue persists, open the browser in Incognito mode or switch to a different browser. This step helps eliminate any browser conflicts affecting the login process.
4. Reset the Router to Factory Settings
If you’ve changed the IP address or login credentials and no longer remember them, perform a factory reset on the router. Find the reset button on the back of the router and press it for 10-15 seconds using a pin or paper clip until the device reboots. This will restore the original IP address and credentials, allowing you to log in with the default settings.

5. Disable Firewalls or VPNs
Security software, such as firewalls or VPNs, may block access to your router’s IP address. Temporarily disable these services on your device and try logging in again. Once you regain access, you can adjust the settings to avoid future conflicts and re-enable your firewall or VPN for continued protection.
6. Restart the Router and Your Device
Restarting the router and the connected device can resolve temporary connectivity issues. Turn off both devices, wait for 30 seconds, and power them back on. After the reboot, try accessing the router’s IP again to see if the issue is resolved. This quick fix often clears minor network glitches preventing login.
7. Use the Correct Admin Credentials
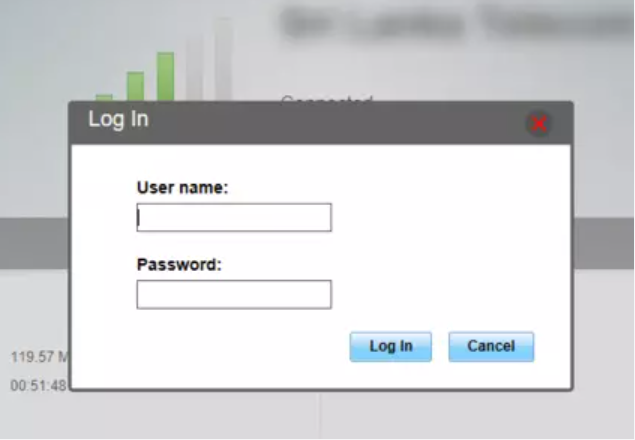
Once the login page loads, ensure you are using the correct default username and password. For many routers, these credentials are “admin” for both fields, but this may vary by brand. If you’ve changed the credentials and forgotten them, a factory reset (as explained earlier) will restore the defaults. Make sure to create new secure credentials after regaining access.
8. Confirm Network Configuration Issues
If none of the above steps work, there may be a network configuration issue. Check if your router’s firmware is up to date, as outdated firmware can cause connectivity problems. Also, verify that IP conflicts aren’t occurring by ensuring that other devices on your network don’t have conflicting IP addresses.
Conclusion
Troubleshooting router login issues can be frustrating, but following these steps will help you regain access to the admin interface and resolve problems efficiently. Whether you need to confirm the correct IP or clear your browser cache, these methods ensure a smooth process. With access to the router interface, you can modify network settings, secure your Wi-Fi, and manage connected devices without further issues.