Managing any project isn’t easy, especially with a team. Asking the members about the progress is literally frustrating. So to remove this frustration and make a project and team management easy, Trello enterprise developed a software named Trello. It offers all the necessary functions to manage a team and project. Have you heard about it? Are you here to take any guide about project management on Trello? If yes, consider you found the right guide as I’ll tell you everything about pilgrammed trello. Let’s start –
How to use Trello for team management?
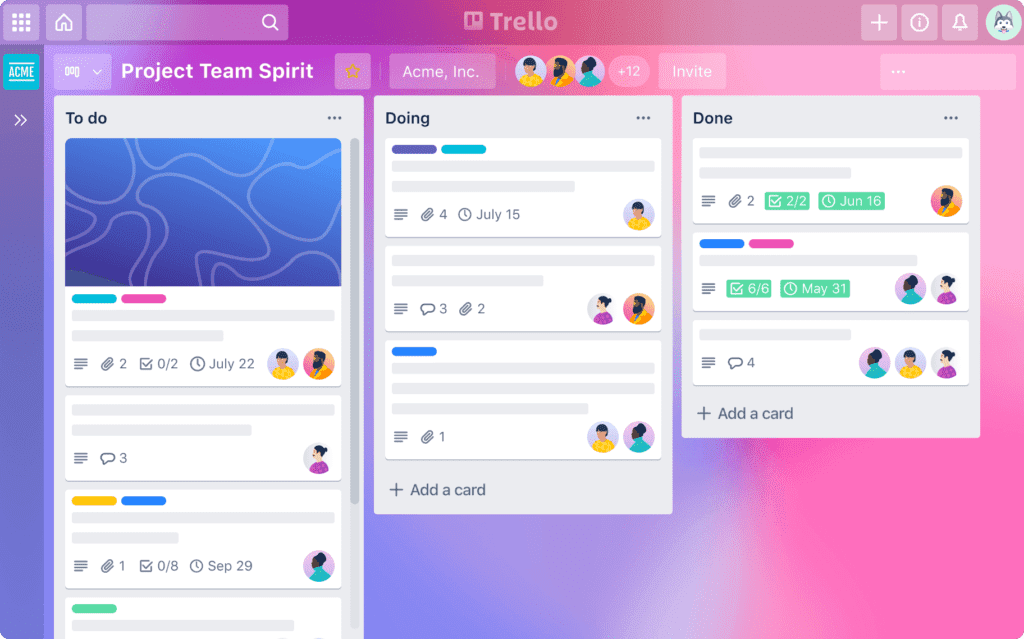
Management is simple –
- Make a board
The management process starts with the creation of a board. It’s the first step because here, you add that you have a project to complete.
To create one, you should do the following things –
- Navigate to the personal boards tab.
- Click on create a new board and then name it (if you wish).
- Choose background pattern > select your team for the project.
- Lastly, click on “create board.”
- Add lists
Lists help in separating the responsibility of the project among group members. Apart from that, this function is also helpful in knowing the progress of the work.
To create a list –
- Go to the board you wish to add lists in.
- Tap on the “add a list” option.
- Add them as per your project needs.
⏩ If you wish to reorder the list, use the drag and move function of the software.
- Add cards
Cards are kinda subcategories. You can add the things you wish to do in a particular list. It often happens that we have a lot of ideas in our mind about the project, but we forget them after some time. So if that happens to you too, you can use cards.
For example – if you want to write an essay under X list and have an outline for that, you can add that outline in cards. It will help you to write the content later.
⏩ Moving a particular card under another list is also possible. So if you think you should transfer any card from one list to another, use the drop-and-drag feature.
- Use add-to-card section
If you wish to add more details about the project, like deadline, start date, attachment, etc., you can go for this section. Here, you can add many more details about your project.
⏩ In this section, you also get the option to set a reminder before the deadline. So you can turn it on to avoid missing the submission dates.
- Start working
That’s all. Now, you can start working, and if you are the project head, you can keep an eye on what’s going on in the project.
What do you need to do before managing a project on Trello?
You should know two things before starting working on the platform: login is required, and pricing.
Login
Before using this software for your work, you must log into it. The process is simple – enter your details > tap on login. After this, you can start with your project.
But, if you don’t have an account on the platform, you have to sign up first. After that, you’ll get the login option.
The process for signing up is –
- Go to either the Trello website or the app. Tap on “sign-up.”
- Select the method you wish to register via.
- Fill in your name and surname > tap on register.
- Pass the robot test and then verify your email.
Trello pricing
Trello provides four-tier pricing. Have a look at this thing, too, because you can only use it properly if you get all the required features. And different plans offer different features. So make sure you go through it and decide the best plan for you.
The four plans it offers are –
- Free
Features provided – unlimited cards, no restrictions on storage and power-ups, stickers, and custom backgrounds are provided.
- Standard ($5)
Features provided – limitless storage, single board guests, saved searches, advanced checklist, and much more.
- Premium ($10)
Features offered – amazing templates, admin and security features, workspace views, and data export are allowed.
- Enterprise ($17.50)
Features given – public board management, power-up administration, free of charge sso, unlimited workspaces.
Apart from these mentioned features, the platform offers a lot more. So go through that list > decide the plan and then start your work.
Summing up…
Managing a project is simple; I have mentioned it in detail. Just follow those steps and that’s all. But before that, you have to create your account on the platform. So do that, choose the plan that suits your needs, and then start working on it. I hope you have understood everything you read in this article.